How do I Install Zen Cart?
Preface
The hoster-provided or publicly available “packaged bundles” of Zen Cart are not endorsed by Zen-Cart.com. To specifically enumerate some well-known options:
- Do not use Softaculous to install Zen Cart.
- Do not use “Web Application Installer” to install Zen Cart.
- Do not use Installatron to install Zen Cart.
Instead, we recommend manual installation. Manual installation of files from the official download enables you to build a system which is secure, optimized, and up to date. Manual installation ensures that you know exactly what you have put onto your site.
This is a basic guide to installing Zen Cart. If you already have Zen Cart installed and wish to upgrade from a previous version to this new release, please see the upgrading instructions in the Release document.
A. The Basics
You have downloaded the Zen Cart software from an official source, and want to build an online shopping cart.
Questions to ask yourself:
1. Do you have a domain and hosting account?
If No, stop, and see our Certified Hosting Sites and find a fast, reliable hosting site that can help you register your own personal domain, as well as provide for your hosting needs that meet the Zen Cart software requirements.
Not sure what a domain or hosting account is? See this article.
2. Do you have FTP software?
If No, stop. You need to obtain a good FTP tool to transfer files back and forth from your computer to your web host.
NOTE: Many people have had timeout and other problems when using programs like SmartFTP and CuteFTP. We recommend that you do NOT use these problematic programs. See FTP tools for a list of alternatives.
NOTE 2: If your hosting company provides an FTP program that runs inside your browser, we recommend that you do NOT use that for uploading large amounts of files such as a fresh install of Zen Cart. Those are okay for single-file uploads, but unreliable for several files at once.
NOTE 3: While some programs like Dreamweaver have built-in FTP capability, we DO NOT recommend using these programs for uploading more than one file at a time, since they often fail to do mass uploads properly, and do a very poor job of informing you of any failures. Always better to use a program dedicated to FTP activity, and not something that’s merely got rudimentary FTP capability bolted on.
3. Do you have a good Text Editor?
If No stop. You will need a text editor.
NOTE: Do not use cPanel File Manager for editing files.
NOTE: Do not use MS Word for editing files.
4. Do you have access to your webhosting control panel?
Your webhoster’s control panel is the place where you will create a MySQL database and user.
The name “cPanel” refers to a specific control panel called cPanel. Otherwise, the generic term “control panel” will be used.
5. Have you created a database?
If your hosting account has cPanel, scroll down to the Databases section and click on “MySQL Databases”. Note that some cPanel versions call this “Manage My Databases.”
The Create New Database form should be pre-filled with the username you used to log in to your cPanel.
Enter a name for your database (the version is often used for easy recognition in multi-database environments) and click on Create Database. Then, click the Go Back button to return to the Databases page.
Note: When you name your database, do NOT include the Zen Cart version in the name. The reason is that you will eventually upgrade your cart from the current version, and then the database name will be confusing if it contains the initial version as a substring.
You will need to create a username and password for this database. It is NOT recommended to use your cPanel credentials (i.e.: don’t re-use your passwords!). Scroll down to Add New User, fill in the information, then click on Create User. Click the Go Back button to return to the Databases page.
Finally, scroll down to the Add User To Database section, make sure the User and Database are filled in correctly, and click on Add. Checking the ALL PRIVILEGES check box will give your user complete access to the database. Be sure to scroll down and click on the Make Changes button.
(You need the following permissions on your MySQL user: SELECT, INSERT, UPDATE, DELETE, CREATE, ALTER, INDEX, DROP. On an H-Sphere host, this would be “dba” access, or at least read/write.)
All set?
If you have answered Yes to all of the above questions, then you are ready to go on.
Background
What is my webroot?
Each web host has his/her own preference in naming folders for use in running a website.
You can have many files that don’t even get shown to the public. The ones that are available for access via a browser are usually in a folder called something like:
/home/YOURNAME/public_html/var/www/YOURNAME/httpdocs/usr/accounts/a/b/YOURNAME/httpd
etc.
Basically, in your FTP area look for a www or public_html or htdocs or httpdocs or wwwroot folder. These are the common folder names for what is referred to as the webroot, which is where all website content is served from.
Your Zen Cart files (or any files to run your website, for that matter) need to be under that folder. If they’re not, then you’re going to get “not found” errors - because the content is not found!
If it’s unclear where the publicly-accessible files are to be uploaded, ask your hosting company for assistance in determining what your webroot folder should be.
Generally you will install Zen Cart either in your webroot or in a subfolder below it. See deployment configurations for more details.
Where will my files be in cPanel?
Your files will go into your webroot, as defined above.
The default webroot in a cPanel environment is usually something like /home/user/public_html where user is the name given to your cPanel account.
In short, in cPanel you’ll almost always see it as public_html.
For initial installation or for staging upgrades; we’ll be setting up a sub-folder with the Zen Cart files, below the public_html folder. In the case of initial installation, you may want to move or redirect this folder once you have completed setup. More on that later.
B. Installing the Zen Cart fileset using cPanel
This is the easiest and least error prone method of installing Zen Cart Installing by FTP is described in the following step.
If your host provides cPanel as your hosting control panel, installation and upgrading can be a much simpler process. You do not even need an FTP program to complete the task although you will need one for other site operations. This section covers the basic steps to install Zen Cart to your server. The same steps are used to create a test folder for upgrade or plugin installation.
Getting the files on the server.
At this point, it is assumed you have a copy of the official download of Zen Cart.
Open the cPanel provided by your host. Normally, this is done by going to https://YOURSITE.com/cpanel OR https://YOURSITE.com:2083. You will need your username and password assigned to you when you obtained your hosting in order to log in to the cPanel.
The File Manager is located in the Files Section of cPanel. Click on the File Manager icon and the File Manager will open. Unless you are very familiar with the folder tree of cPanel, we recommend opening the Settings and selecting ‘WebRoot’ as the default opening directory. Refreshing the page will bring up the files currently in your public_html folder.
Next, you will upload the latest zip file to your server using the Upload menu icon. (You must download the zip file first, before continuing.) Click on Upload and the upload page will appear in the browser. Drag the zip file to the “Drop files here to start uploading” area and the upload will automatically start. When the progress bar shows 100% with complete underneath, click on the Go Back link to return to your /public_html folder. If you don’t see the zip file in the public_html folder, click on Reload in the menu to refresh the page.
Find the zip file. Normally Zen Cart uses the following naming format when distributing code: zen-cart-CURRENT_VERSION-RELEASE_DATE.zip. Right-click on the file and select Extract. You should see a home icon with /public_html pre-filled in the box. Make sure your browser matches /public_html with no trailing / and click on the Extract File(s) button. Click Close on the Extraction Results screen.
You now have a new folder in public_html that should match the naming convention of the zip file. zen-cart-CURRENT_VERSION-RELEASE_DATE. All the Zen Cart installation files are in this directory.
For clarity, rename the directory to something like catalog or store for this new installation. If you were creating a directory for an upgrade or to test an addon on a separate store, you should use an appropriate name you can associate with the task. For now, we’ll give the files a break while we create the database.
Skip step “Installing the Zen Cart fileset using FTP” and go to the following step.
C. Installing the Zen Cart fileset using FTP
This step is only required if you did not install your files using cPanel in the previous step.
At this point, it is assumed you have a copy of the official download of Zen Cart.
Upload, via FTP, the whole Zen Cart distribution into a directory on your server. You can put it in your webroot or in a folder below that.
You can choose to upload to your webroot, or you can choose to upload to a subfolder. Assuming your webroot is /home/johndoe/public_html and your domain is johndoetools, this is how things will work (assuming you have SSL):
-
If you upload to your webroot, your Zen Cart will be accessed as https://www.johndoetools.com.
-
If you upload to the catalog subfolder of your webroot (i.e.
/home/johndoe/public_html/catalog/, your Zen Cart will be accessed as https://www.johndoetools.com/catalog.
This guide uses the /catalog subfolder AS AN EXAMPLE. You don’t have to use /catalog. You could use something else (like /shop), or no subfolder at all (upload directly to webroot).
So in the language defined by Basic Terms, we’ll
be using a YOURSUBFOLDER value of /catalog/.
Choosing a subfolder versus loading the files into webroot is entirely your choice. The only time when you would really need to use a subfolder is if you already have a well established website are just adding on ecommerce using Zen Cart. In that case, you’d want to put your store below your existing site.
If you want to read more about using YOURSUBFOLDER, please see deployment configurations.
D. Set Permissions on folders
See Permissions on files and folders.
E. Prepare to Run the Installer
The installer is fairly intelligent and should be able to automatically supply answers to the questions listed below.
You will, however, need to confirm that the auto-detected answers are, in fact, correct as on some servers they may differ.
You will need the following information for the installation:
-
The physical path to your new Zen Cart directory
Example:/home/myusername/public_html/catalog -
The Virtual HTTP Path (the URL to your domain and directory for your shop)
Example:http://www.mydomain.com/catalog -
The Virtual HTTPS Server (the secure URL to your domain)
Example:https://www.mydomain.com -
The Virtual HTTPS Path (the secure URL to your domain and directory for your shop)
Example:https://www.mydomain.com/catalog
F. Run the Installer
In your browser, enter the URL to your new shop, and the Installer should automatically start.
Example: http://www.mydomain.com/catalog
Or, to start the installer directly, use: http://www.mydomain.com/catalog/zc_install
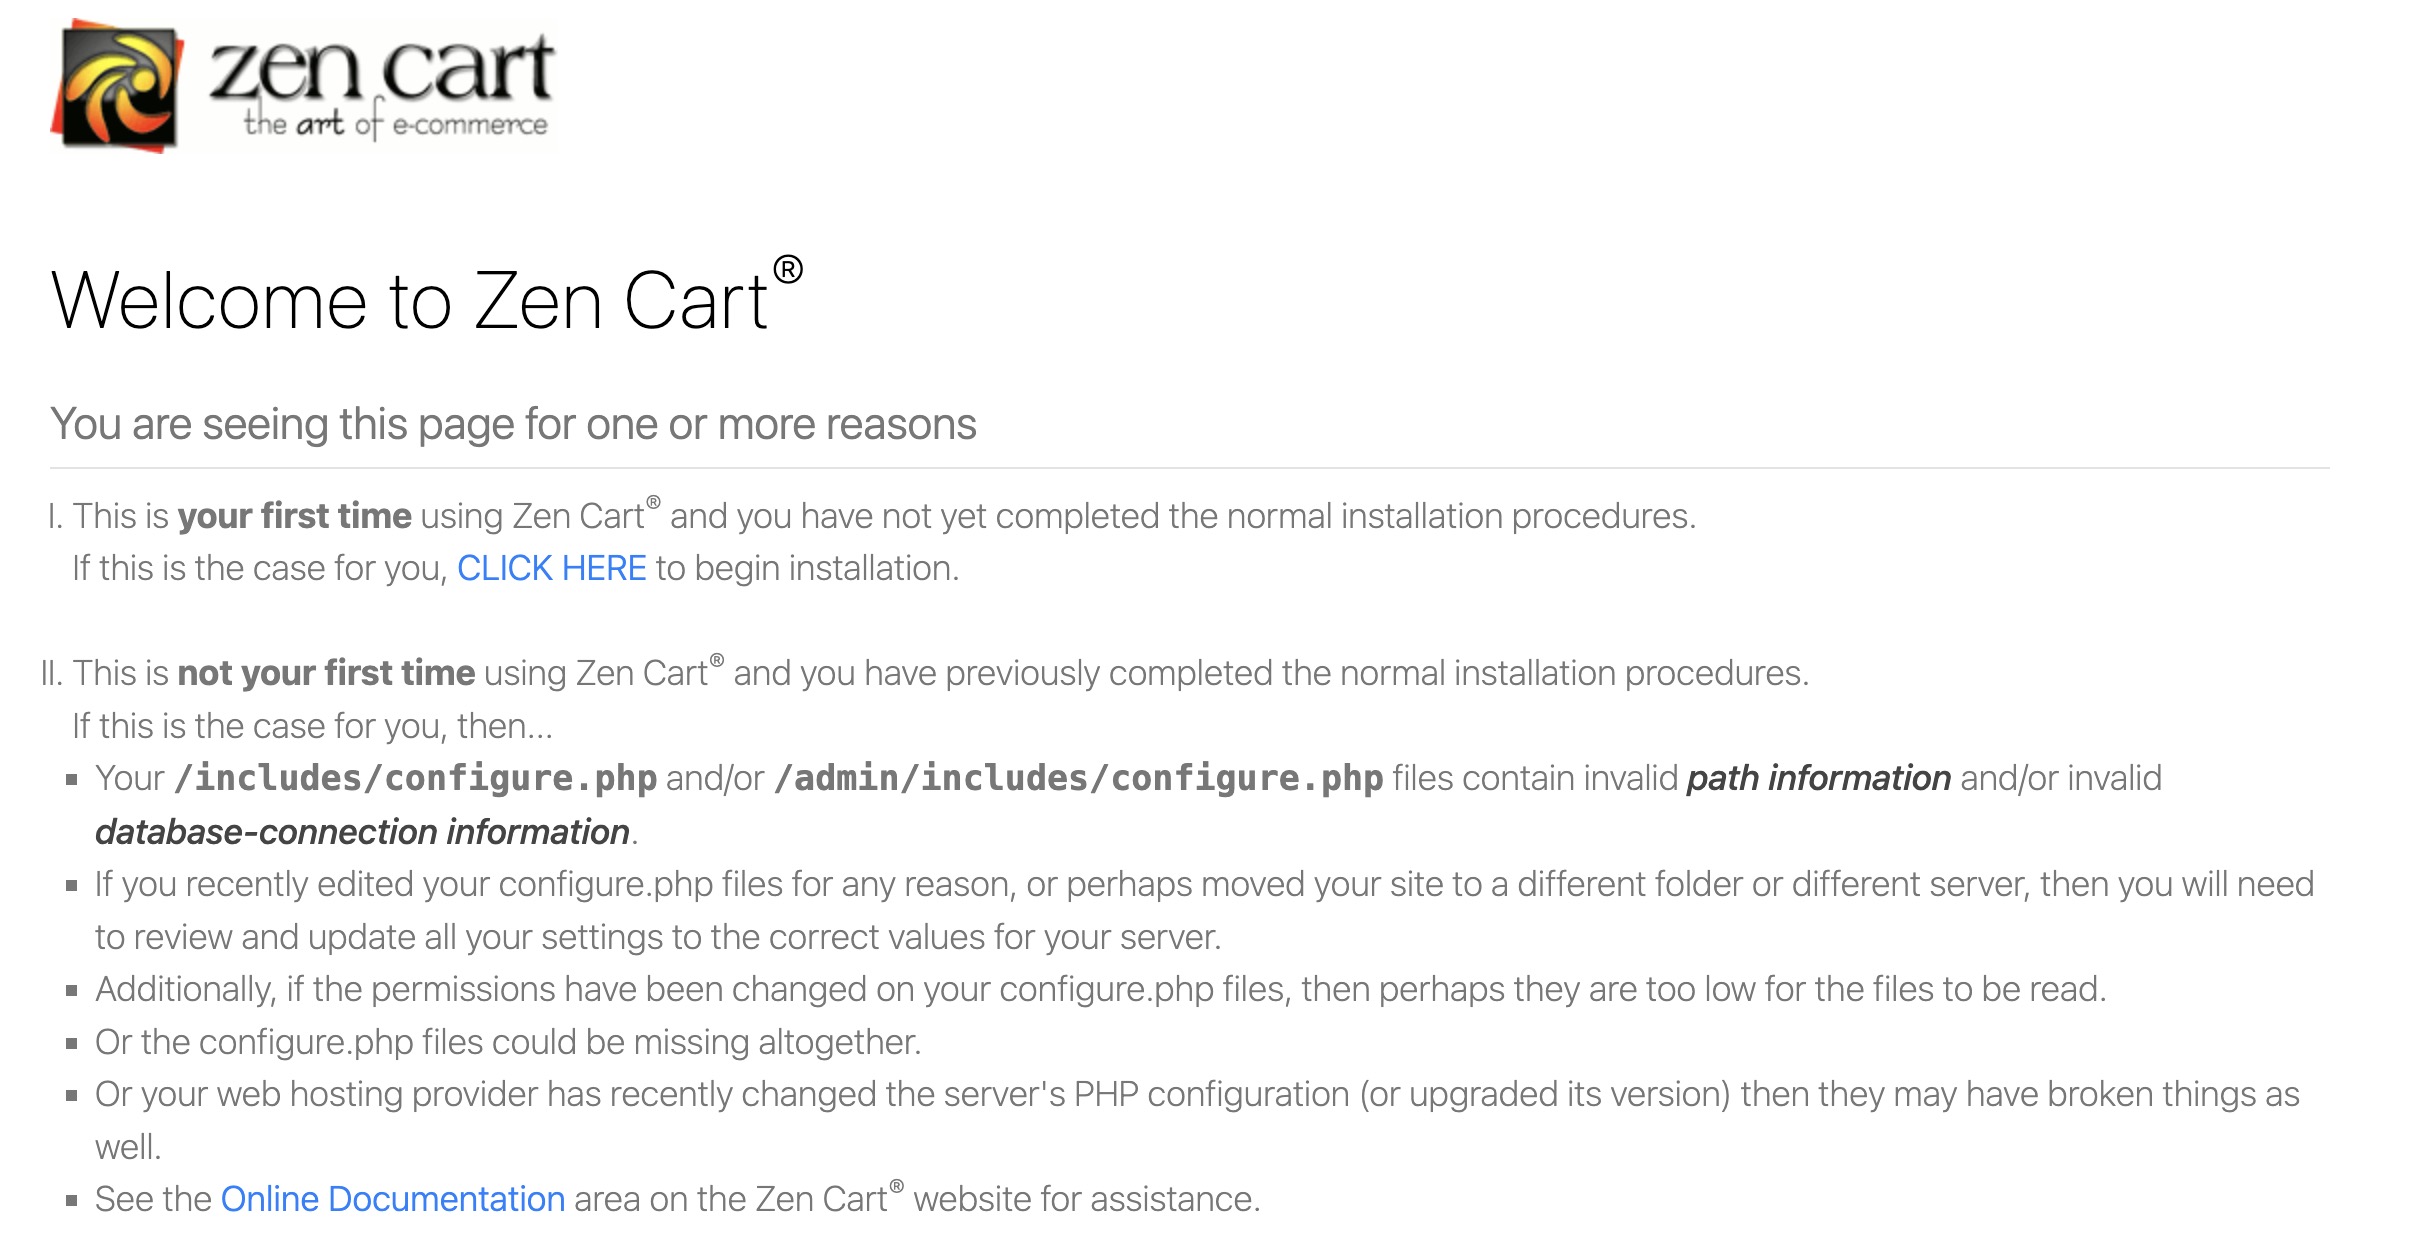
Welcome
You will be presented with a “Welcome to Zen Cart” page. In the first section, press the “CLICK HERE to begin installation” link.
Install Screen 1: System Inspection
Next, you will see the System Inspection screen.
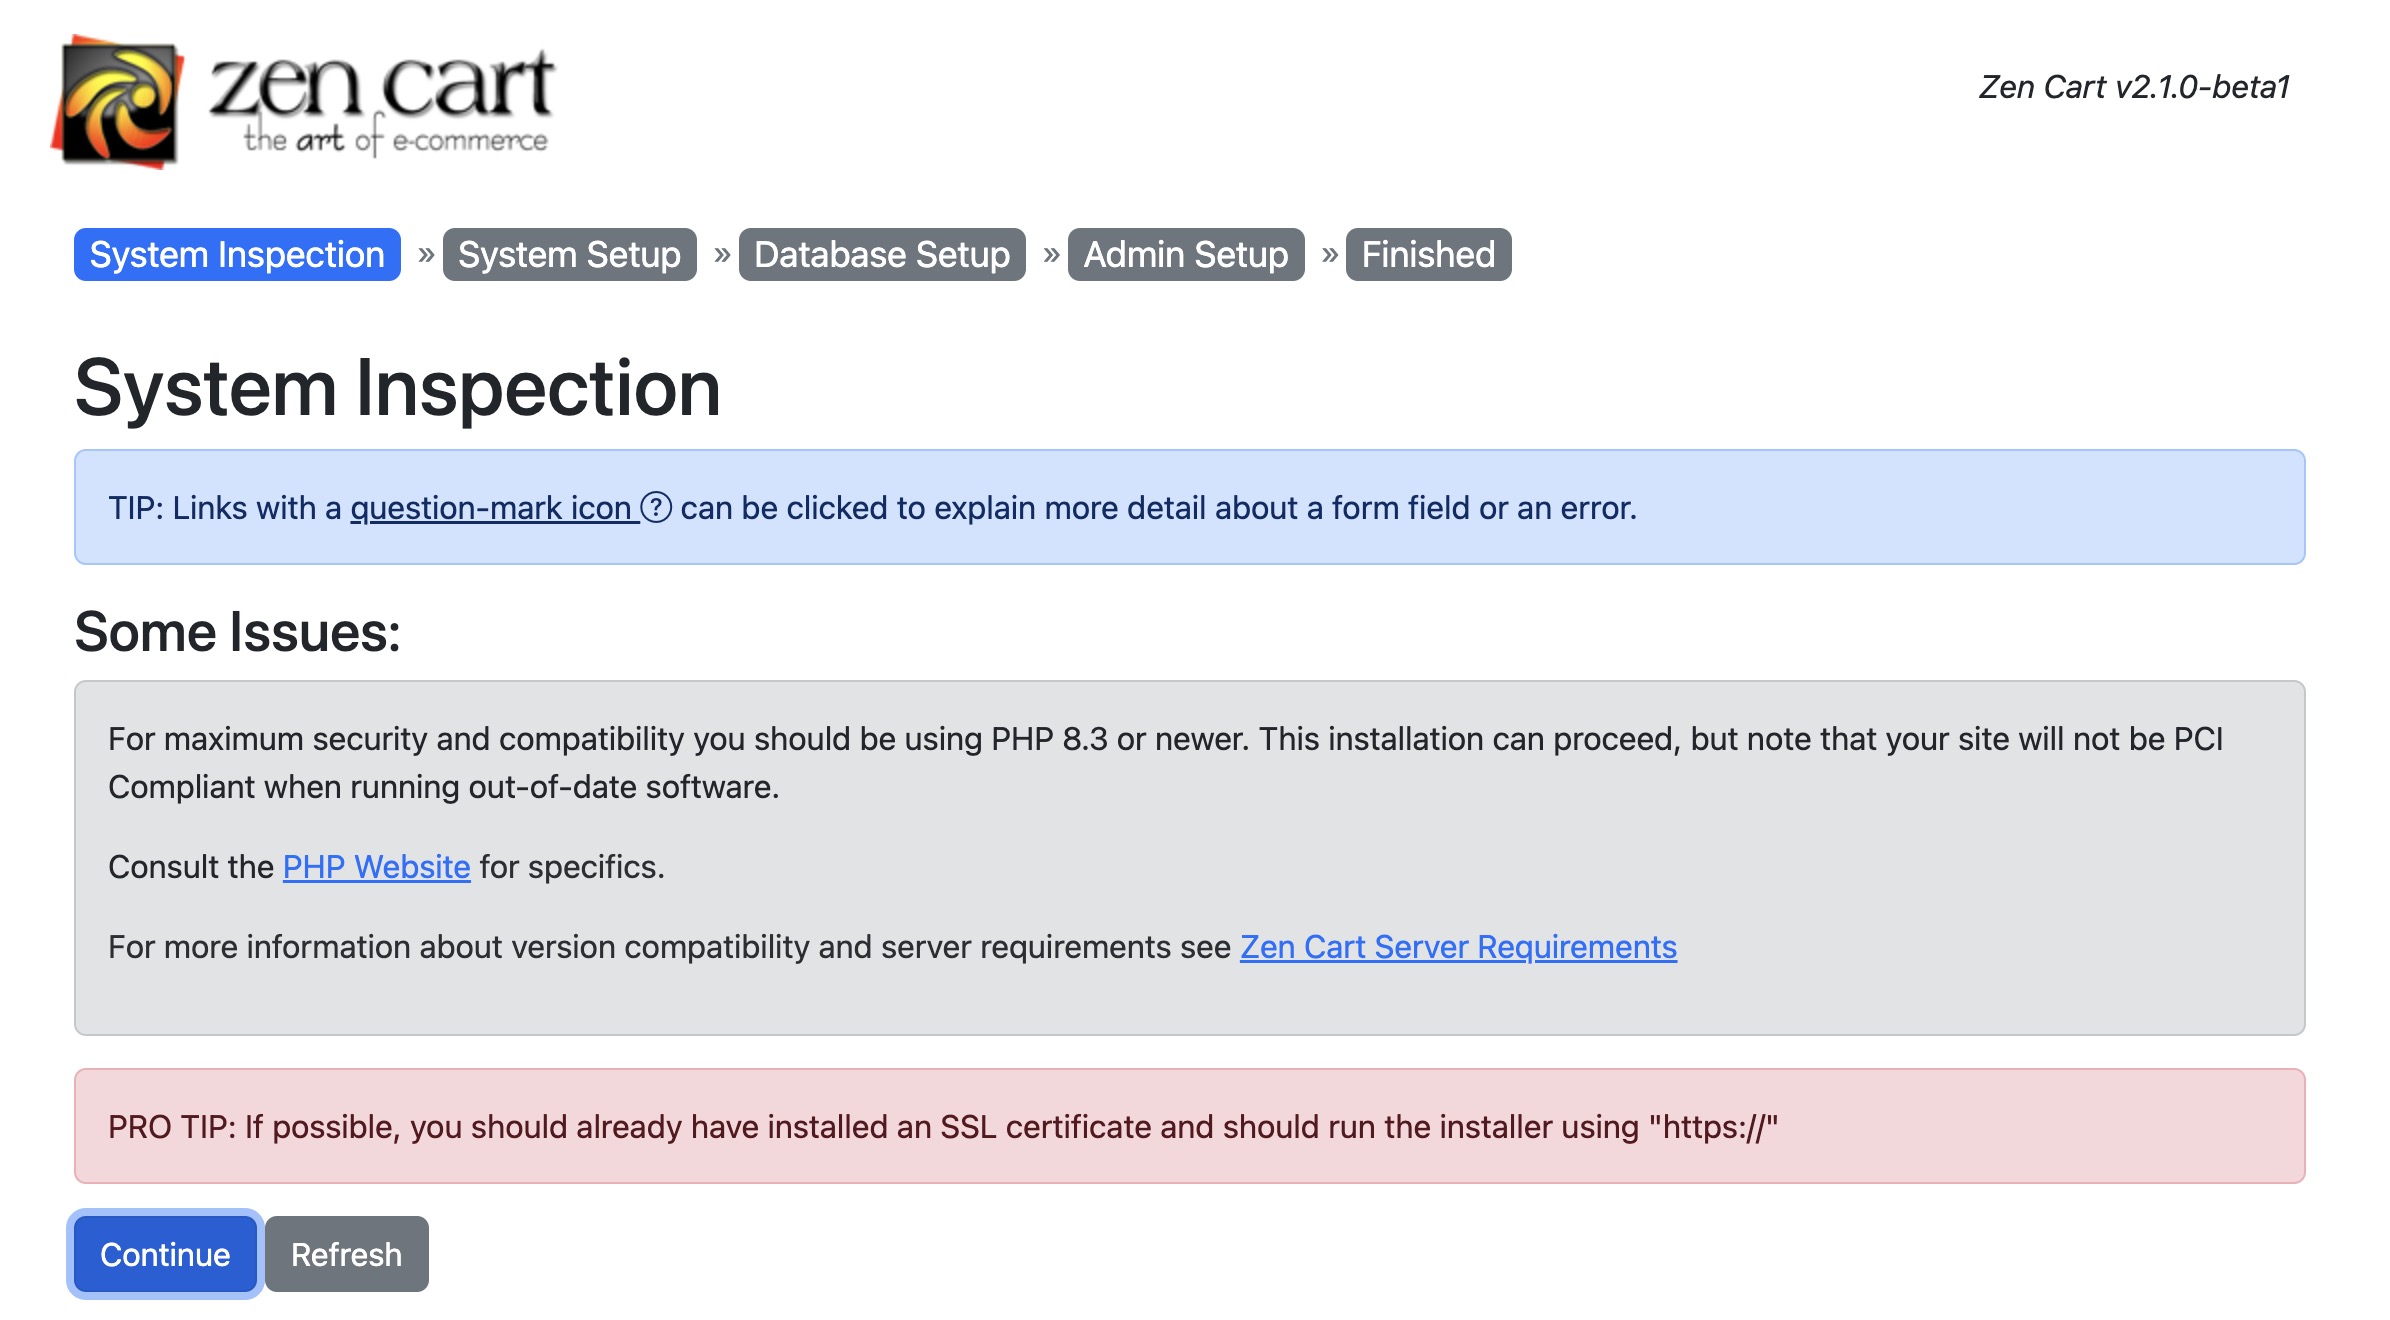
This screen will examine your server for compliance with technical requirements for running Zen Cart, presenting you with several items you may need or want to address with your host. Anything marked in red or with an “X” must be addressed before the installer can continue. Things marked with an orange or yellow “caution” symbol are simply warnings that may or may not apply to your setup now. The image folders and others as described earlier in this document are also noted. If you make changes to your server, you can click Re-Check or press F5 in your browser to refresh the display and reflect the changes you’ve made before proceeding.
If a previous version of Zen Cart is found on your server, the installer will attempt to determine the database patch level and display that on the screen as well. In this case, an “upgrade” button will display at the bottom of the screen offering you the ability to upgrade if needed.
Note: If you have a previous version of Zen Cart installed but don’t see the “Upgrade” button, there’s a problem with your configure.php files. See Installer does not show an Upgrade button.
Once you are satisfied that the “pre-flight-check” inspection is OK for your needs, you may click the “Continue” button at the bottom of the screen.
Install Screen 2: System Setup
Next, you will see the System Setup screen.
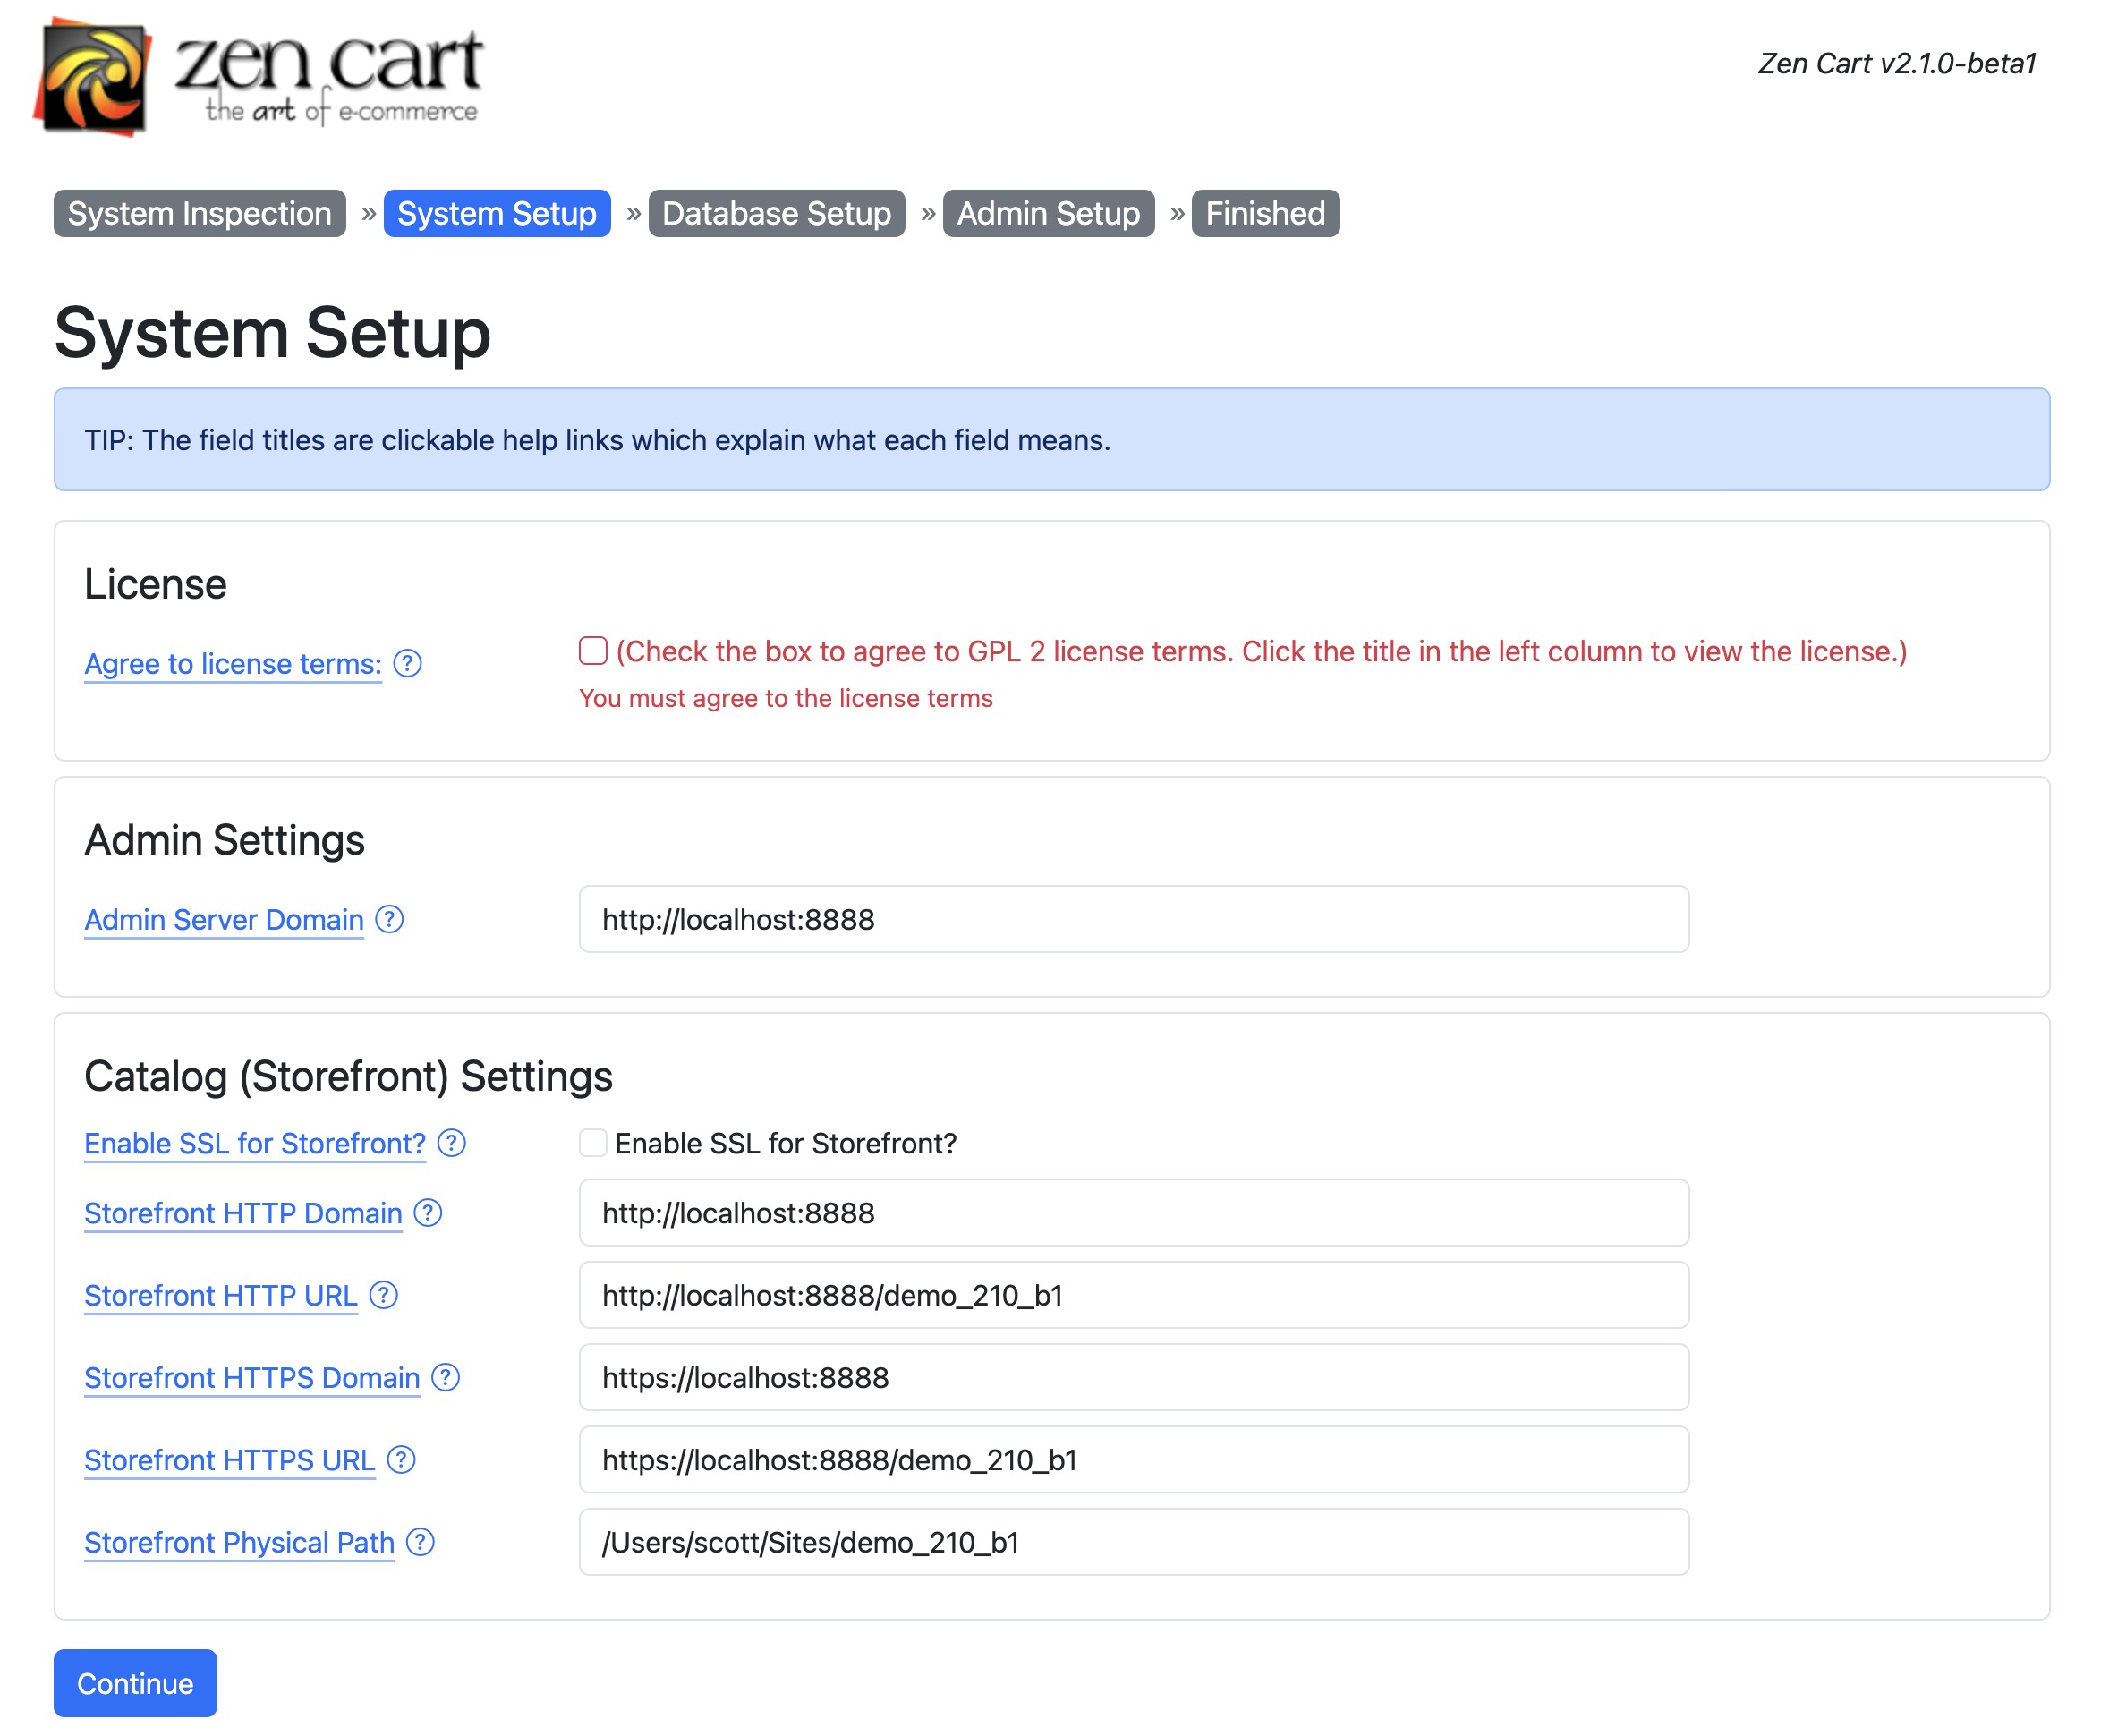
On the System Setup page you will need to complete the information we described in “Before Running the Installer” earlier in this document. You will also need to agree to the license terms.
Indicate if you want to Enable SSL (the secure pages where required, in Login, Checkout, and optionally Admin areas) on your server. If you do not have an SSL certificate yet, do not enable this feature now.It can be changed at a later date. (See the SSL FAQ for detailed instructions).
Note: If you receive any of the following error messages, go through the above steps to make sure you have not left anything out. All error messages have context-sensitive help via a popup window if you click on the more info… links supplied:
** Warning: Problems Found **
*   /includes/configure.php does not exist.  more info...
*   /admin/includes/configure.php does not exist.  more info...
Install Screen 3: Database Setup
Next, you will see the Database Setup screen.
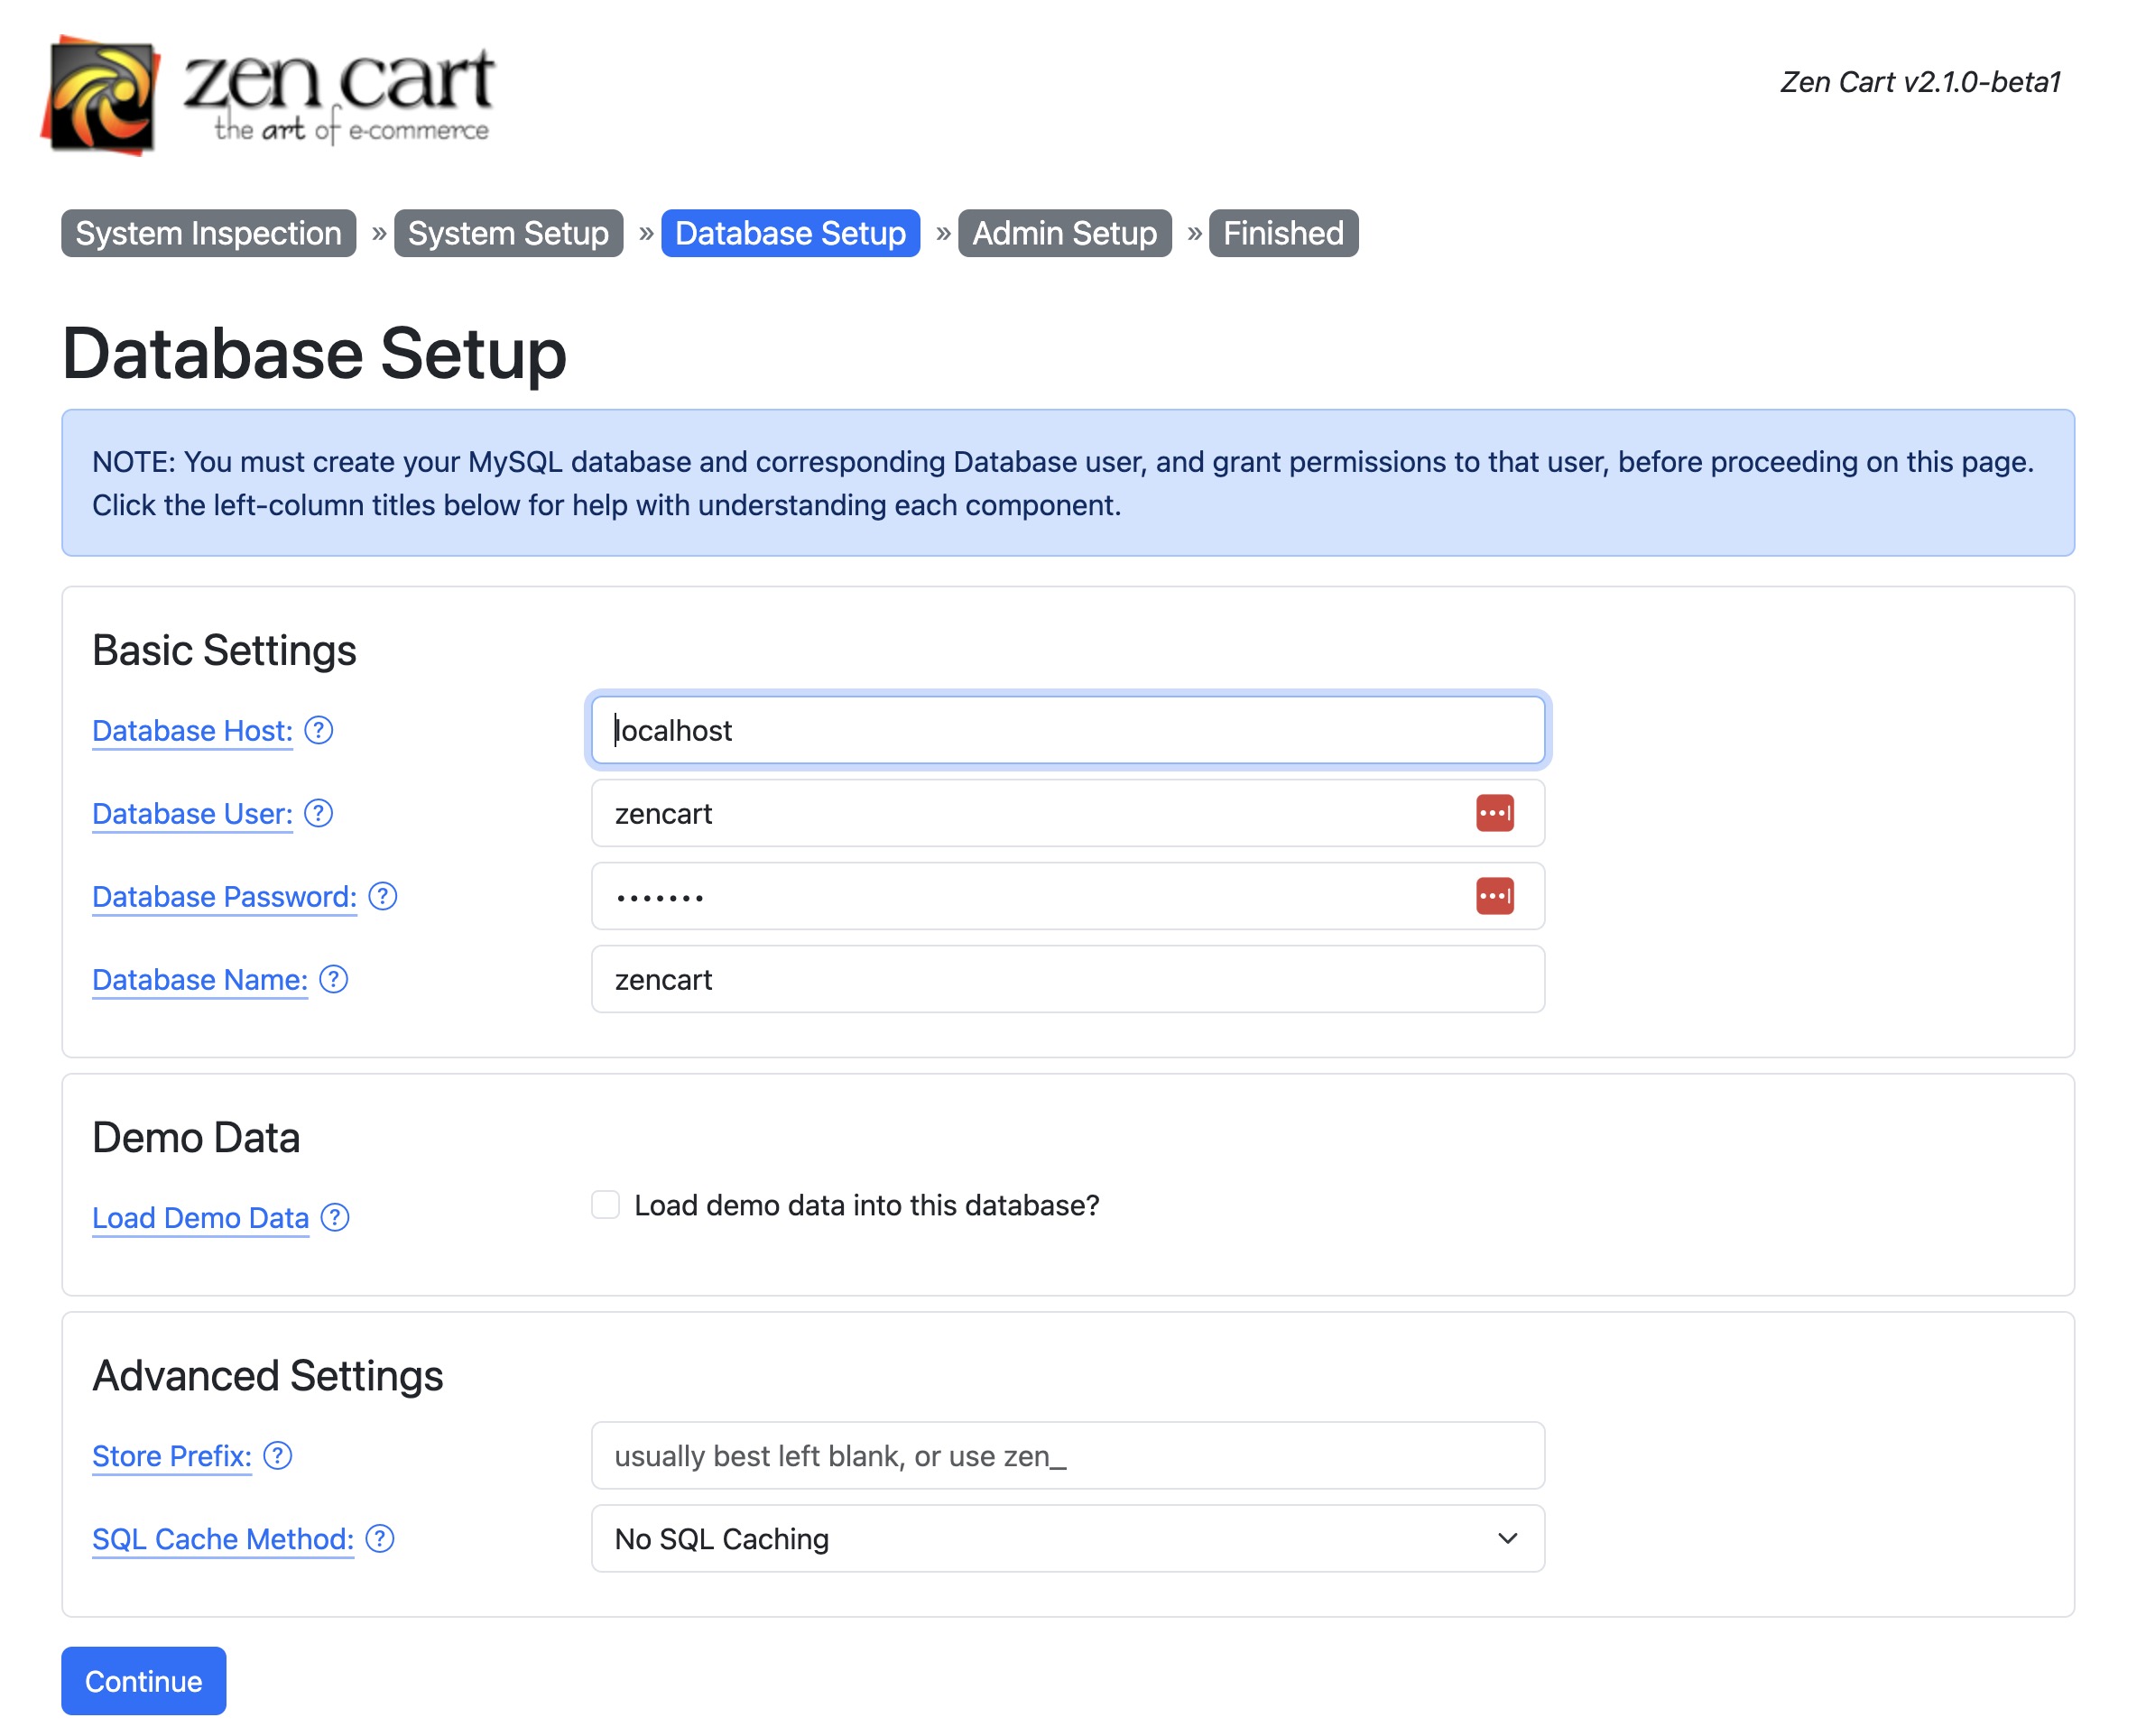
On this screen, you are asked for Database Information about your MySQL database, username and password. These can be obtained from your cPanel or equivalent control screen provided by your host. If you do not have a clean MySQL database setup with a username and password, you will need to create one.
Contact your Hosting site if you need assistance in creating a MySQL database table and/or username and password. Note that you need to have your database and userID created before the Zen Cart installer can continue past this screen.
Other information on this screen:
-
At this time, MySQL is the primary operational database type.
Future releases may support other database types. -
We recommend that you store your Database Sessions in your database for security purposes.
This screen also allows you to install the demo data if you are evaluating Zen Cart.
Demo Data
If you would like to install the demo data, select yes.
We recommend that you install the demo data to familiarize yourself with many of the examples created that explain and demonstrate the vast number of features available in Zen Cart.
You may also decide later to set up a test site with the demo data AND a separate working site for your live data so that you have the ability to refer back to the demo data for help and to see examples of a feature. This is an excellent way to learn how things work, and then try your hand at setting up your own site and testing to be sure you’ve done things right. Later on it can be used to help you test an upgrade or test new features you’re working on before affecting your live site.
After you click Save Store Settings, there will be some hesitation as the database tables are created and the demo data is optionally loaded. You will see some progress indicators as the database is loaded.
For a list of features shown by the demo data, please see demo data.
Demo Images
After 1.5.8, the demo images are no longer automatically installed; to install them, see the instructions in demo images.
Install Screen 4: Admin Setup
The last screen requiring input is the Admin Setup screen.

Complete the Admin Information to set your Login name, Admin email address and password.
NOTE: both the login name and password are case sensitive.
Save the Admin settings and your installation is now complete!
Install Screen 5: Finished
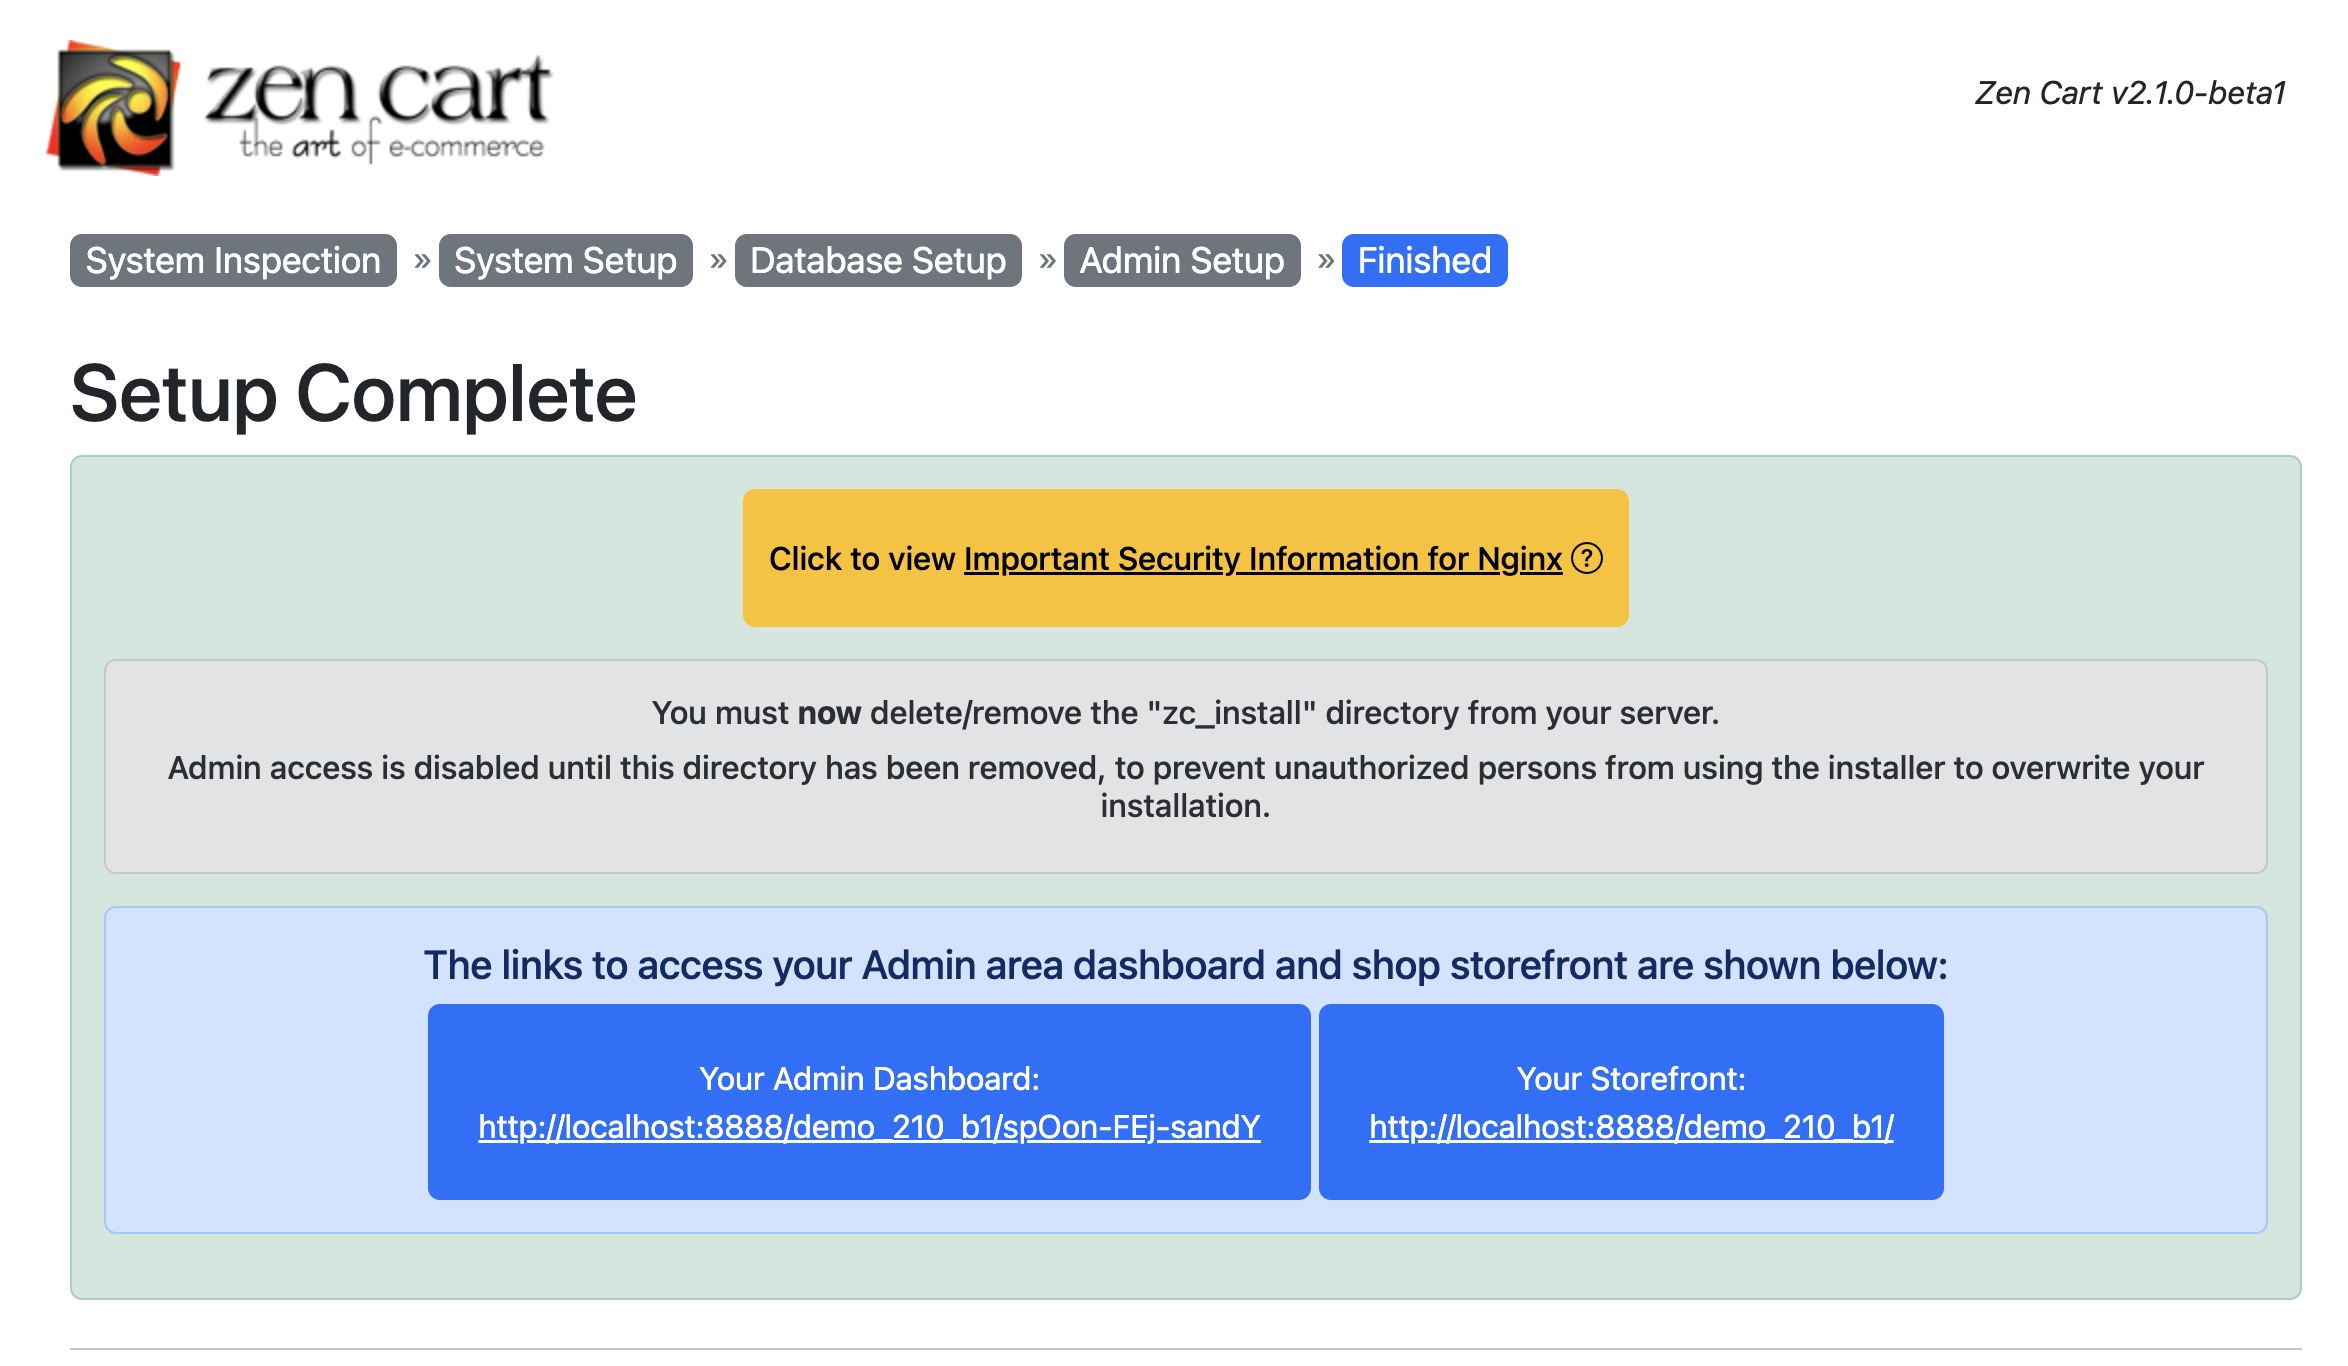
Providing there were no errors during installation, you should be able to now enter the Admin or the Catalog.
G. After Installation
a) RENAME YOUR ADMIN FOLDER. Note that current versions of Zen Cart do this for you.
b) When you enter the catalog, you will receive security warnings about the configure.php files and the /zc_install directory.
configure.php files
You will now want to change the permissions on the configure.php files with chmod 644 (or 444 depending on your server, and sometimes setting 444 cannot be done via FTP, in which case use your host’s control panel or file manager to set the permissions level.)
These are located here (remember, “catalog” is what we used as an example here – your site may or may not include “catalog” as a folder name):
/catalog/includes/configure.php
/catalog/admin/includes/configure.php
It would also be a good idea to download a copy of these files to your computer from the server as they have been setup and configured to your server specifications based on the Installation process.
If you have any errors or problems, most of these can be corrected by minor adjustments to these two files.
c) Remove the zc_install directory
Next, you will want to delete the /catalog/zc_install directory
H. Next Steps
Now you’ll want to install your SSL certificate and change your admin password. Yes, you need an SSL certificate.
For information on first steps to setting up your online shop, see the article basic checklist.
You should also familiarize yourself with the Zen Cart Developer’s Toolkit, located in your store’s Admin area, under Tools. This will help you locate almost anything you want to customize in your shop!
Once you’re set up and ready to start announcing your URL to the public, you should FIRST review Site Security Recommendations to be sure your site is safe and not vulnerable to hackers. The most up-to-date version of this file can be found in the article Important Security Recommendations.